Telephony setup
Number assignment
Use Routing to connect an available workspace number to an agent or flow. If no number is available, stop and ask your platform team before continuing.
After assignment, verify the route from both Routing and the Agents page.
Connect phone numbers to your voice agents through the Nuvoca interface.
Prerequisites
- Voice agent already created
- At least one phone number already available in the workspace
Step 1: Choose an Available Phone Number
Navigate to Routing in the Telephony section:
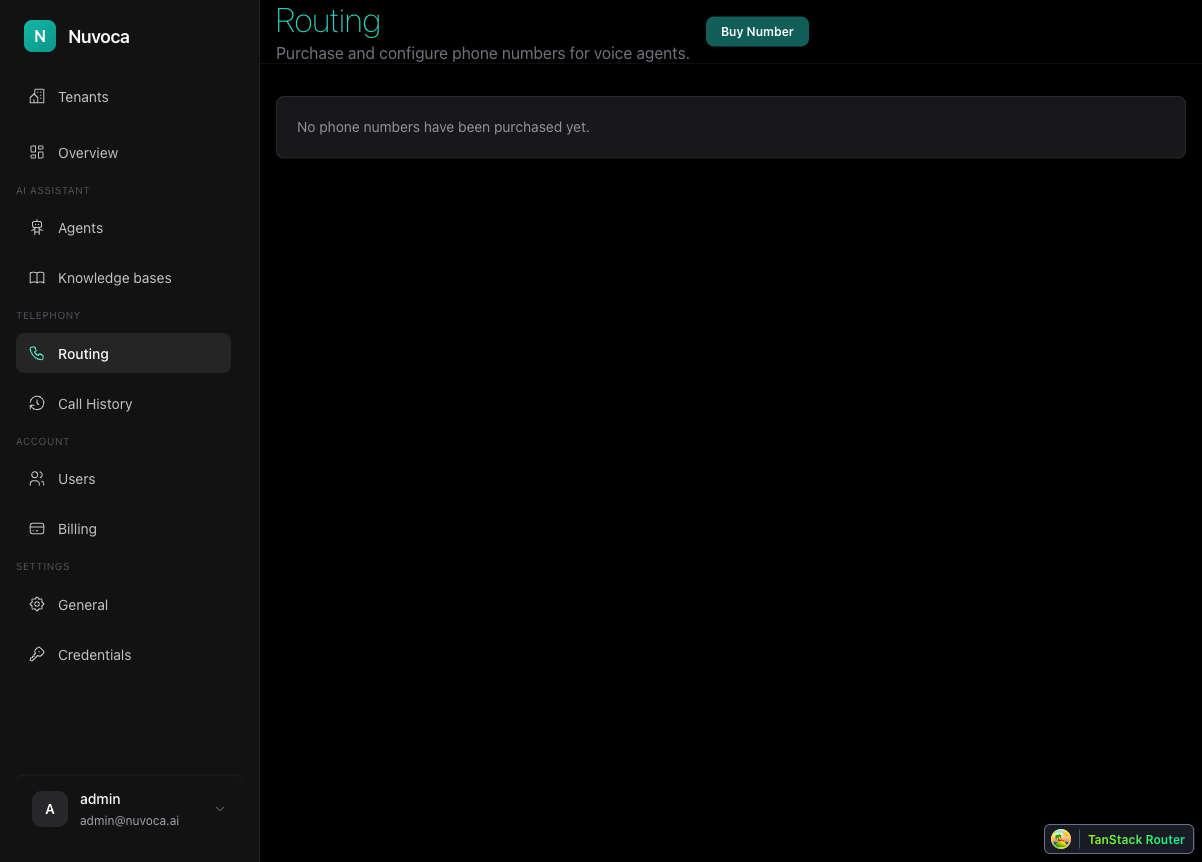
- Review the routing list for an available or unassigned number
- Choose the number that should route to your voice agent
- Leave it unassigned until the agent is fully configured
If No Number Is Available
End users do not set up the telephony provider directly in Nuvoca. If no number is available in the workspace, ask your platform team to provision one before continuing.
Step 2: Assign Phone Number to Agent
Once a number is available, it appears in the routing list:
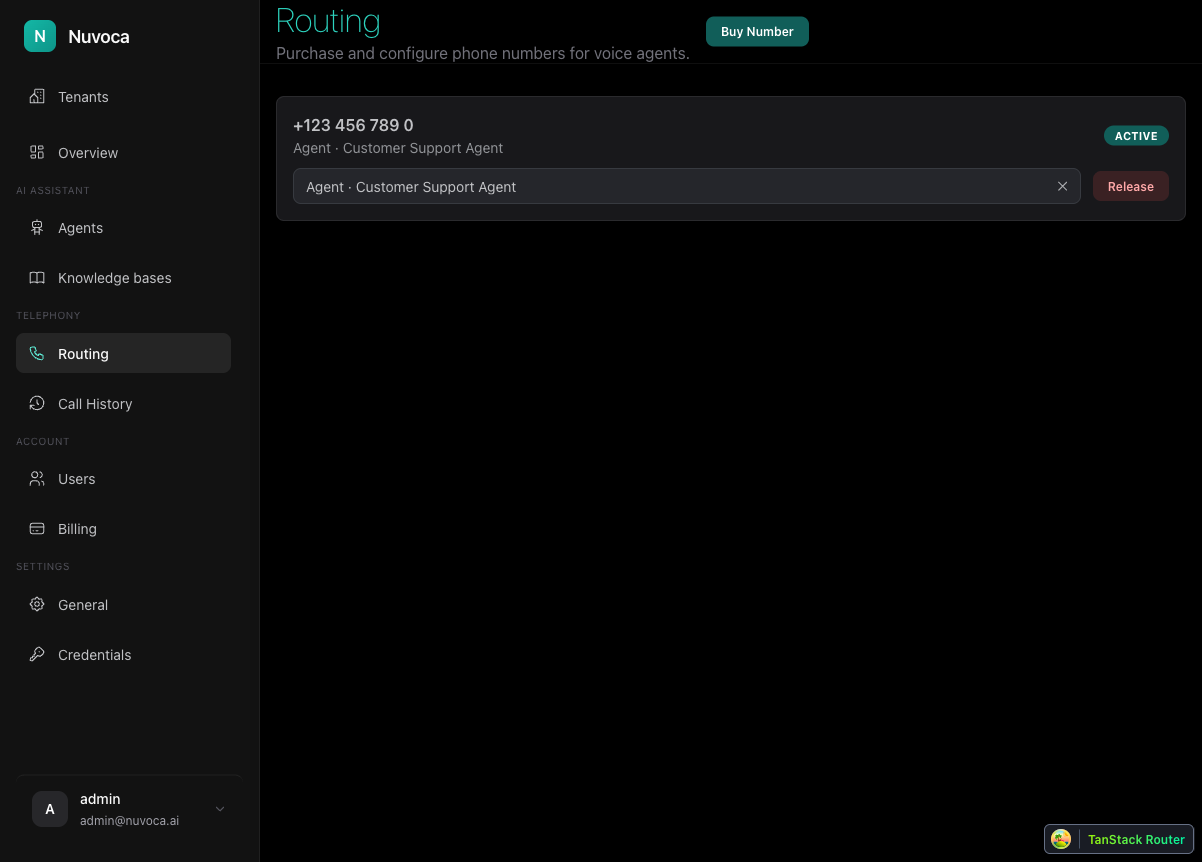
- Use the "Assign agent or flow" dropdown to select your voice agent
- The agent will now receive incoming calls for this phone number
Agent Status
The phone number shows: - Status: Active (green indicator) - Linked Agent: Which agent receives calls - Release: Button to remove the assignment
Step 3: Verify the Connection
You can verify the phone number is linked to your agent from the Agents page:
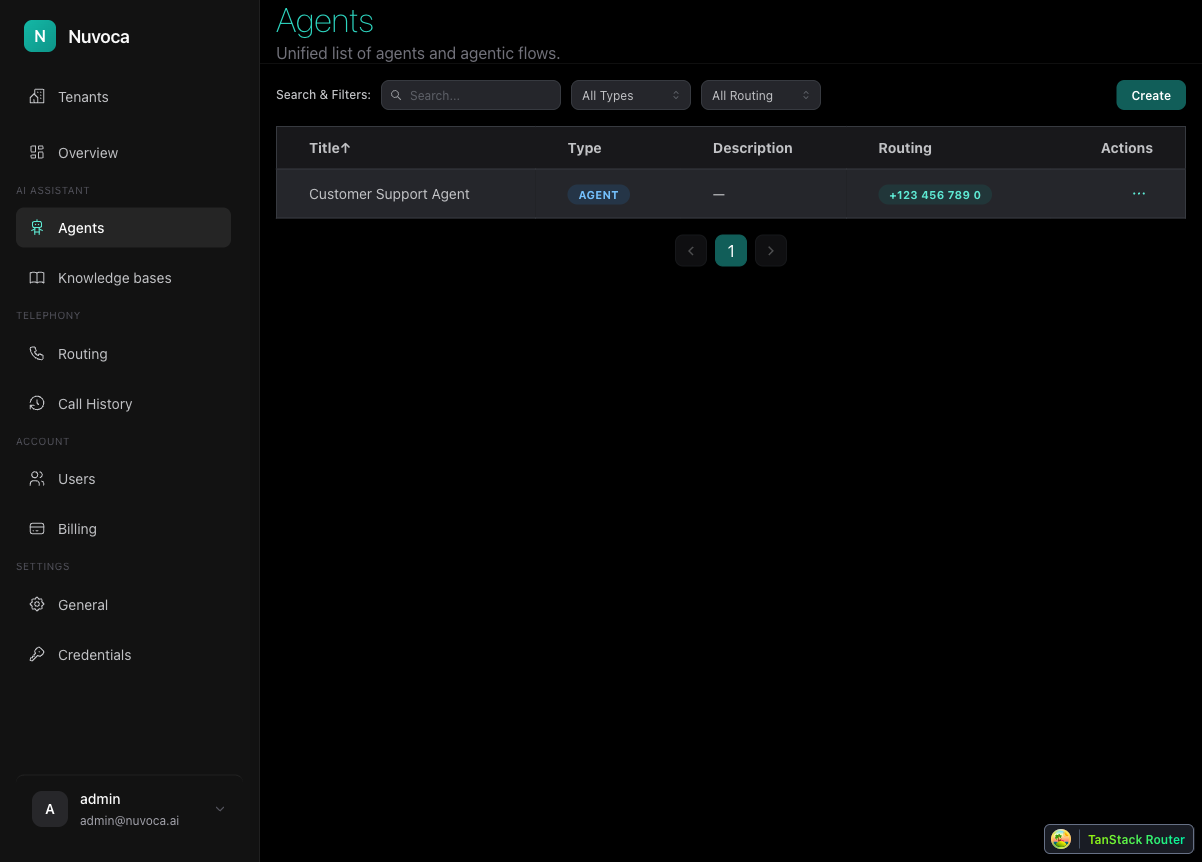
The Routing column shows the linked phone number for each agent.
Making Test Calls
Once configured: 1. Call the assigned phone number 2. The call routes to your assigned agent 3. The agent responds using the configured voice and greeting
Multiple Numbers, Same Agent
You can assign multiple phone numbers to the same agent when your platform team has made them available. This is useful for: - Multiple geographic regions - Different marketing campaigns - Department-specific numbers